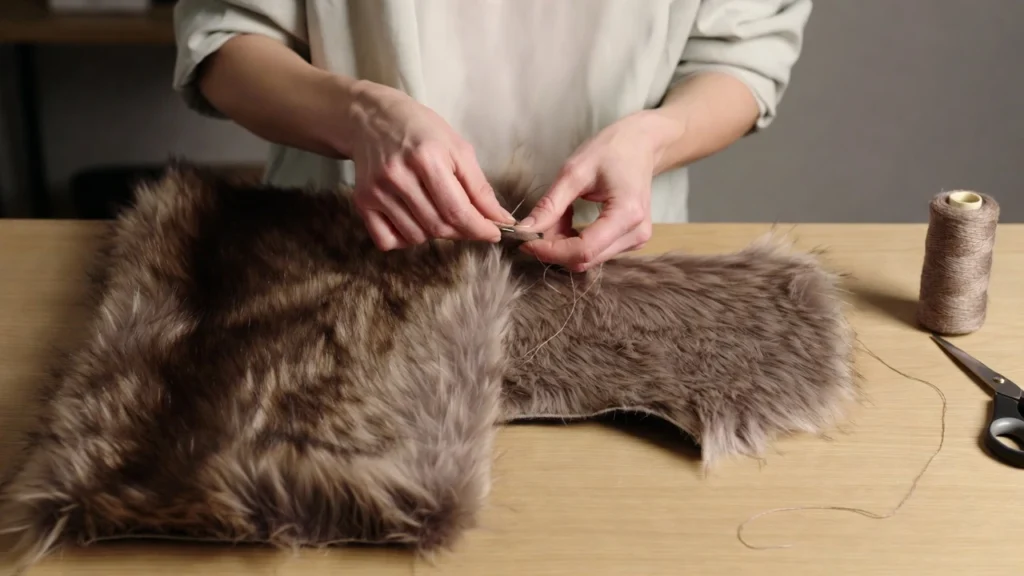
Let’s be honest: buying faux fur by the yard can be pricey, and often, the colors are just… boring. If you’re looking to add a high-end, tactile edge to your wardrobe without breaking the bank, there is a “secret” DIY method that fashion insiders use for small-scale textures.
We’re talking about yarn brushing. It sounds simple—and it is—but the results look surprisingly expensive. Whether you want a shaggy 70s vibe for a collar or a sleek trim for a handbag, here is how you can “grow” your own fur at home.
The Toolkit: What You’ll Actually Need
Don’t get distracted by fancy gadgets. You only need a few specific items to pull this off:
- 100% Acrylic Yarn: This is non-negotiable. Natural wool will just turn into a matted mess (felt). Acrylic is plastic-based, which is exactly what professional faux fur is made of.
- A Metal Slicker Brush: Grab one from the pet aisle. The fine wire teeth are perfect for shredding the yarn into fine “hairs.”
- A Flat Iron (Hair Straightener): This is the game-changer for getting that glossy, “real-hair” sheen.
- Scissors & Fabric Base: Felt or a sturdy canvas works best for your backing.
These eco conscious materials help you create luxury textures while reducing fashion waste.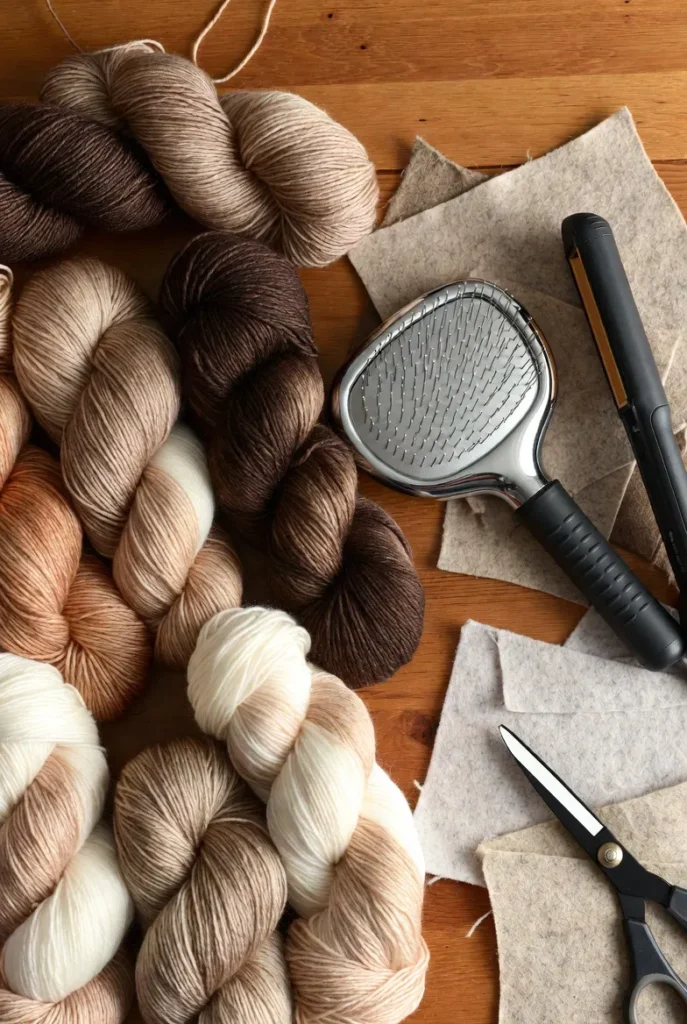
The Process: A Step-by-Step Breakdown
Phase 1: Creating the “Roots”
First, decide how long you want your fur to be. Cut your yarn into strips double that length. Loop these strips through your base fabric (or a crochet grid) using a latch-hook method or by sewing them down firmly in the center.
The Golden Rule: The closer you pack your yarn, the more “premium” the fur feels. Sparse yarn looks like a cheap wig; dense yarn looks like a designer coat.
Phase 2: The “Shredding” Session
This part is a workout for your arms. Hold the base of the yarn firmly and start brushing from the tips upward. You’ll see the yarn “explode” into a cloud of fluff. Keep going until you can no longer see the original twisted strands of the yarn.
Phase 3: Ironing for Shine
Right now, it looks like a frizzy pom-pom. To fix this, run your hair straightener over the fibers on a very low heat. The heat slightly melts the surface of the acrylic, smoothing out the frizz and adding a reflective shine that mimics natural animal oils.
FAQS
- Why does my fur look so frizzy? You probably skipped the heat-styling. A quick pass with a low-heat iron aligns the fibers so they reflect light, giving it that “silky” look.
- Is it machine washable? I wouldn’t recommend it. Treat your DIY fur like a delicate accessory. Hand-wash with cold water and air dry, then give it a quick “re-brush” once it’s dry.
- How do I stop it from shedding? Shedding usually happens right after the first brush. Give the piece a good shake outside and trim away any loose “hairs” with sharp scissors.
- Can I mix colors? Absolutely! That’s the best part of DIY. Mix three different shades of grey and brown yarn to create a “realistic” animal-mimic look that you can’t find in stores. This customization makes your pieces truly one-of-a-kind sustainable designs.
- Will it melt if I use a hot iron? Yes. Acrylic is plastic. Start on the lowest setting and do a “test strand” first.
Conclusion
At the end of the day, making your own faux fur isn’t just about saving a few pounds—it’s about the creative freedom to build something that literally no one else owns. While it takes a fair bit of “elbow grease” and a lot of brushing, the result is a custom texture that looks far more high-end than the cheap, synthetic stuff you find in bargain bins.
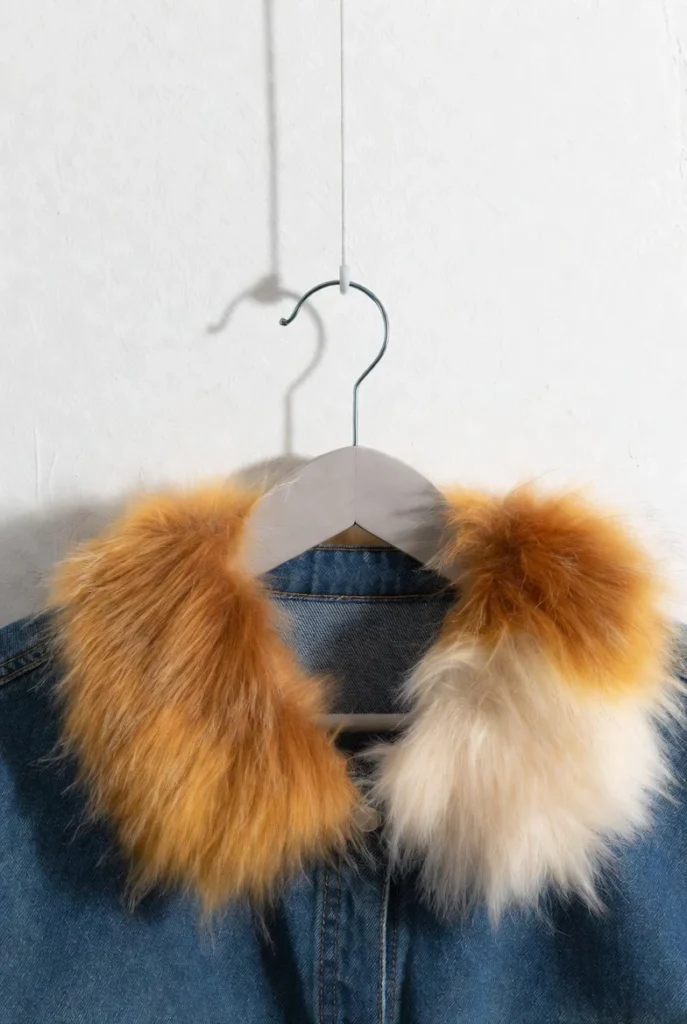
Whether you’re adding a fluffy trim to an old denim jacket or creating a statement collar for a new design, this yarn-brushing trick is a total game-changer for any DIY wardrobe. It’s sustainable, it’s clever, and it proves you don’t need a factory to create something runway-worthy. So, grab that pet brush and start experimenting—your next favorite fashion piece is currently just a ball of yarn waiting to be transformed.